NB! This installation guide only applies to CentOS 9 Stream!
First, we need to download Epel, Remi, and then we need to install OCS Inventory. For this, we'll enter the following commands:
wget https://dl.fedoraproject.org/pub/epel/epel-release-latest-9.noarch.rpm
wget https://rpms.remirepo.net/enterprise/remi-release-9.rpm
wget https://rpm.ocsinventory-ng.org/ocsinventory-release-latest.el9.ocs.noarch.rpm
dnf install ocsinventory-release-latest.el9.ocs.noarch.rpm epel-release-latest-9.noarch.rpm remi-release-9.rpm
Then we need to install OCS Inventory server. For this, we'll enter these commands:
dnf install yum-utils
yum-config-manager --enable remi
yum-config-manager --enable crb
dnf install ocsinventory
Then we need to enable and start MariaDB, MySQL, Apache, and PHP. For this, we'll enter the following commands:
systemctl enable mariadb
systemctl start mariadb
mysql_secure_installation
systemctl enable httpd
systemctl start httpd
systemctl enable php-fpm
systemctl start php-fpm
Then we need to open http and https ports on the firewall:
firewall-cmd --zone=public --add-service=http --permanent
firewall-cmd --zone=public --add-service=https --permanent
firewall-cmd --reload
Then we'll proceed to MySQL, and create a MariaDB database:
mysql -u root
SET PASSWORD FOR ‘root’@’localhost’ = PASSWORD(‘yourpassword’);
CREATE DATABASE ocsweb;
CREATE USER ‘ocs’@’localhost’ IDENTIFIED BY ‘ocs’;
GRANT ALL PRIVILEGES ON ocsweb.* TO ‘ocs’@’localhost’ WITH GRANT OPTION;
FLUSH PRIVILEGES;
Then we'll open our browser and proceed to http://yourip/ocsreports. If we don't know our computer's ID, we can enter the following command to find it out:
ip a
This will take us to the following page:

Let's enter the following data:
MySQL login: ocs
MySQL password: ocs
Name of Database: ocsweb
MySQL HostName: localhost
And let's click Send.
This should take us to the following page:
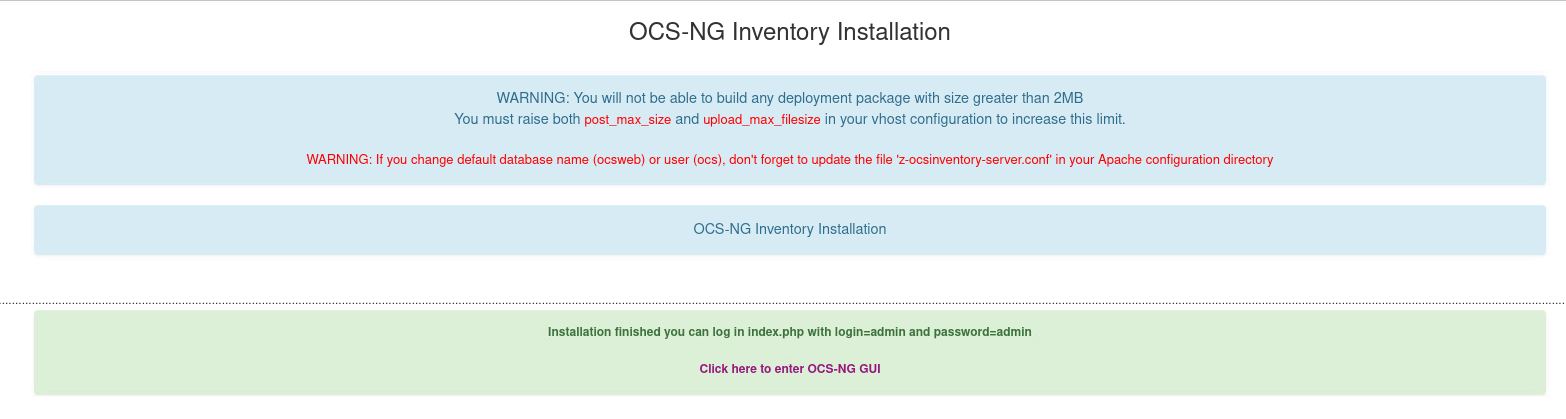
Let's click Click here to enter OCS-NG GUI.
This should take us to the following page:
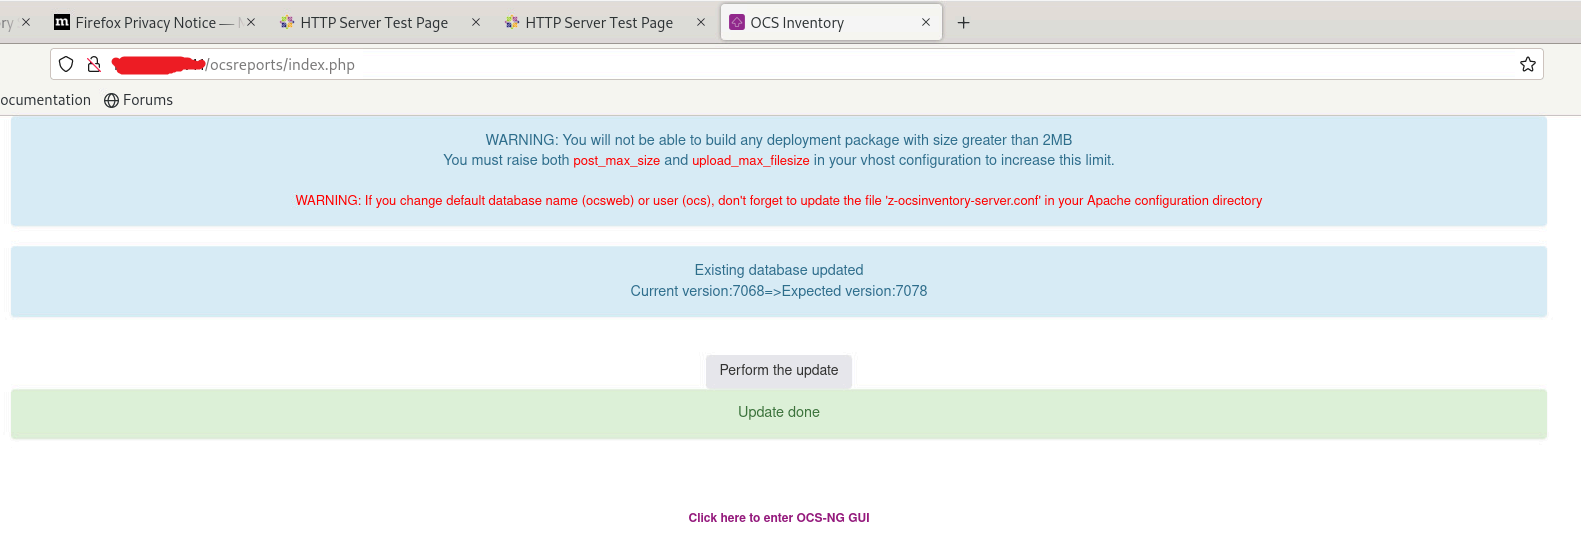
Let's click Perform the update.
Eventually, http://yourip/ocsreports/index.php should look like this:
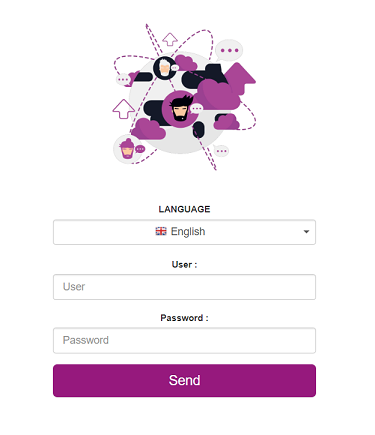
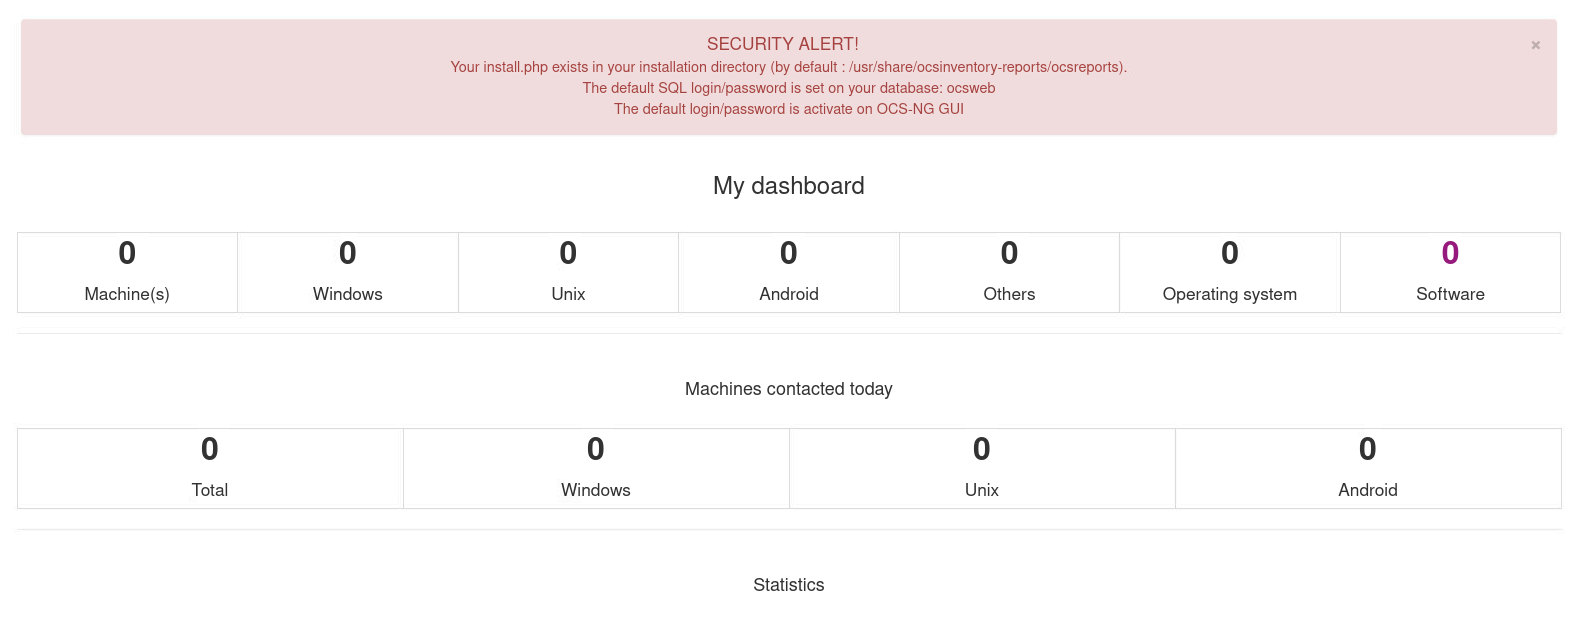
Let's enter our username and password (by default, both, the username and the password are admin), and we'll be logged in!
To add a client device, we'll download an OCS Inventory agent to a device on the same network. We can get it from the official website of OCS Inventory. Let's download an agent respective to the operating system of the client device, and let's install it like this:
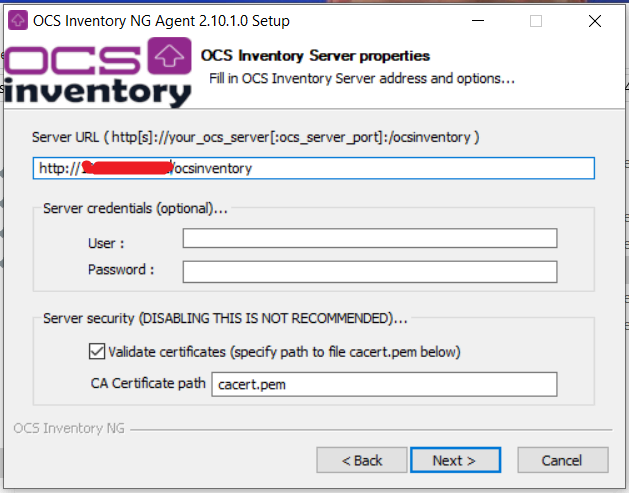
Server URL: let's replace ocsinventory-ng with our server's IP in the address box.
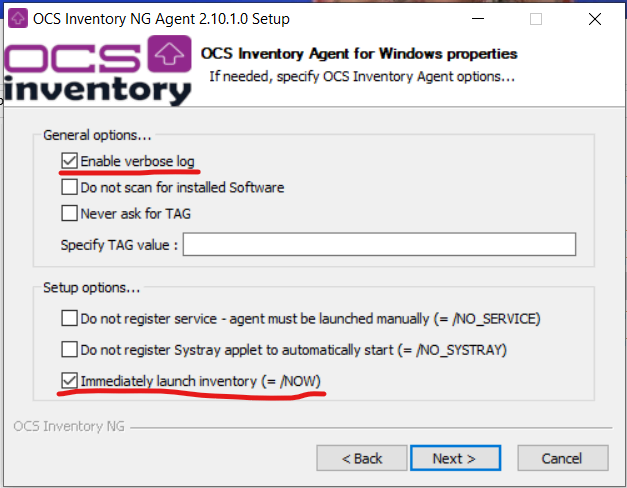
Let's check the red-underlined boxes.
Let's refresh out server's page and see if the client device appears on our dashboard.
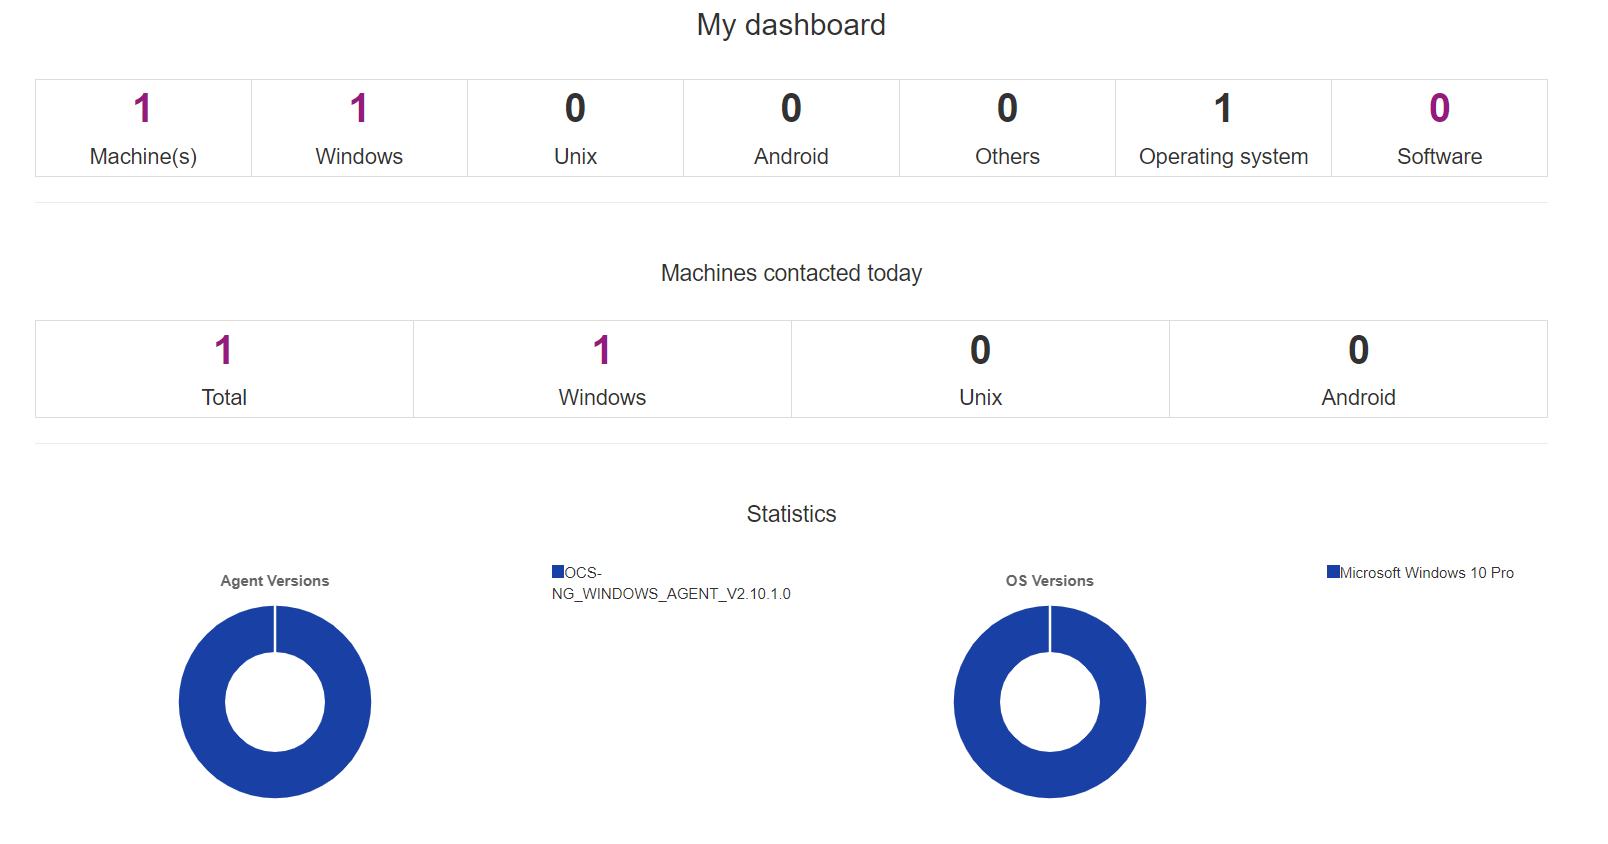
As we can see, the client device has appeared on our dashboard. We've successfully got OCS Inventory to work!